26 Apr From Lens to Large Print
The art of large-format printmaking in the digital age
The only thing better than capturing a spectacular sunset for a photographer is the feeling of hanging a large print of that scene on a wall, forever enshrining the glory of the moment and sharing the awe felt in creating it with family and friends.
Creating large-format prints can be a daunting task, but once armed with a little knowledge, anyone can get great results and successfully enlarge their photos for display.
Getting the Shot
You don’t necessarily need a professional-level DSLR to make wall-sized photo prints. While a high-end camera may yield better results in large-format printing, modern smartphone cameras are more than capable of shooting images that can be enlarged, printed and displayed larger than life. Regardless of what kind of camera is used, care must be taken in the editing and enlarging processes to properly prepare your treasured photo for printing.
The most important ingredient for success in creating large prints with any camera, but especially a smartphone, is starting with a correctly exposed, sharply focused image. The aperture is fixed in a camera phone, and different focal-length lenses are limited, if available at all. That leaves camera phone photographers no choice but to rely heavily on exceptional light. Going out shooting in the morning or evening will drastically improve the chances of coming back with a moody, contrast-rich image worthy of printing 3 feet wide or larger.
Editing Process
In order to make wall-sized prints, photographs taken by any digital camera need to be edited with software such as Adobe Photoshop or Perfect Resize. While editing, make sure the colors match your vision for the print as compared to your memory of the scene when you photographed it, with adjustments to contrast and color balance. Keep in mind that some print types tend to print darker, so you may need to compensate with a boost in brightness at this stage, and carefully proof the print with your photo lab.
To create the final print, you will need to enlarge the photo to its final print dimensions at a higher resolution than originally recorded by the camera. Aim for enlarging your photo file to as close to 300 dots per inch (DPI) as possible, although it may be acceptable to target a lower resolution when considering viewing distance. For example, some prints can be produced at lower resolution because people typically view larger prints from farther back in a room.
An example of this is a highway billboard, which, viewed from hundreds of feet away, can have a low resolution of around 10 DPI and still appear very sharp. A commonly accepted value to use to accurately reduce and align resolution with viewing distance is to lower it by a third for every 3 feet.
Although most photographers add a small amount of sharpening to their file after enlarging to final print size—to counteract the softness introduced during enlargement—it’s worth noting that not all photos need to be completely sharp to make high-quality large prints. Many beautiful Tahoe images that include our amazing lakes and cloudscapes are able to portray large areas within the photograph that don’t need to be sharpened.

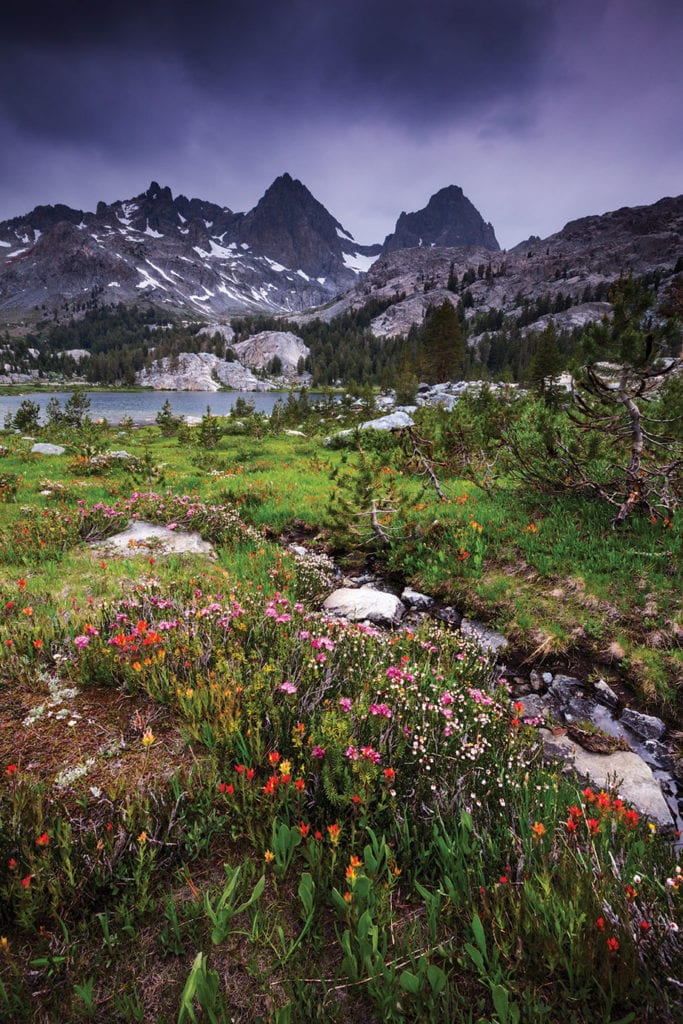
Mountain wildflowers bloom under a spring thunderstorm on the shores of Ediza Lake in the Ansel Adams Wilderness of
the Central Sierra Nevada. The clarity, contrast and color of this image make it a perfect candidate for a large-format print,
photo by Grant Kaye
Presentation Options
Once your file is prepared, it’s time to choose a presentation for your large print—and there are many exciting print format options available. Specialized papers such as Fujiflex and Kodak Metallic offer stellar contrast, sharpness and color reproduction. Photographers also have the choice of a traditional presentation—a mat board under glass in a wooden frame—or a modern presentation of alternative mounting solutions with a full bleed.
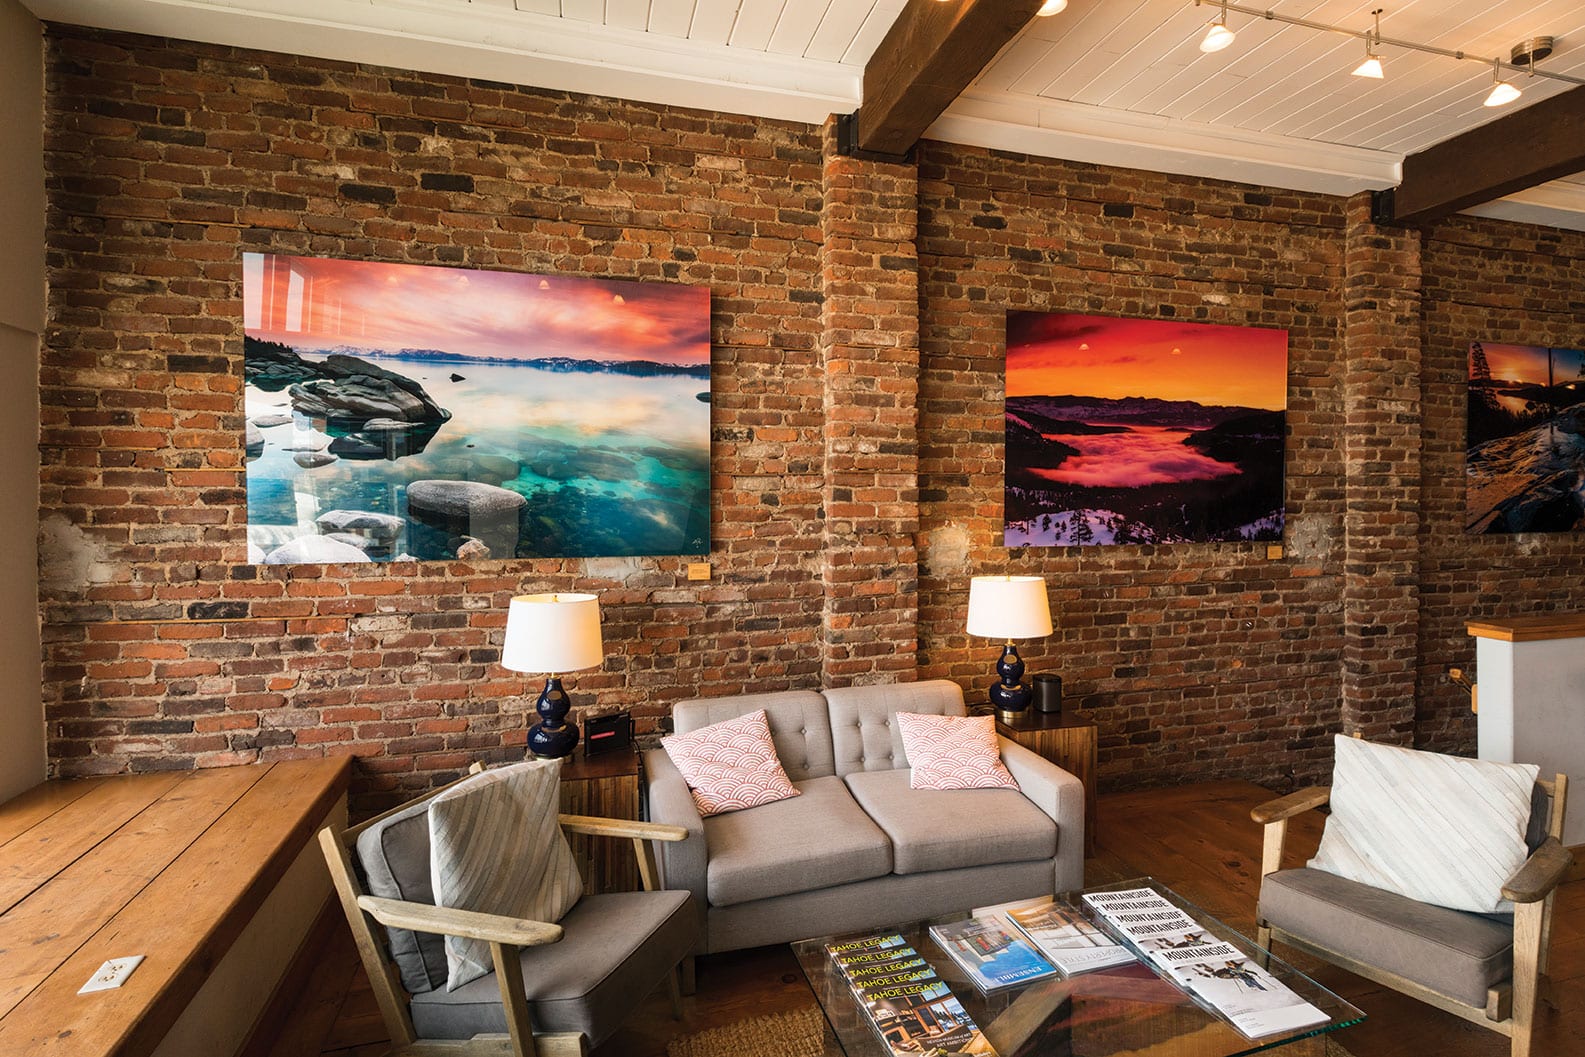
Full-bleed presentations are also an excellent way to showcase your work in a large format. Two of the best are metal prints and acrylic face-mount prints. Metal prints use adhesion of high-end papers to aluminum sheets, which offers amazing vibrance and color reproduction. Acrylic face-mounts mate a photographic print, preferably on one of the high-contrast papers mentioned here, and adhere it to optically clear, museum-grade acrylic sheets. The face-mount catches and reflects nearly all available light and creates an astonishingly vivid, sharp, almost backlighted look. The combination of acrylic face-mount and a high-luminosity paper such as FujiFlex will yield spectacular results in a large print.
Print Execution
After you choose the presentation, you’ll need to find a photo lab to make the print for you. You’ll upload your file, place an order and the lab will take care of the rest. There are many excellent labs in Tahoe, Reno and the Bay Area.
The fidelity of the final colors in the print is paramount. More often than not, computer monitor screens do a poor job of reproducing colors, as one brand of monitor can vary from another in presentation, and viewing on your phone can yield different results. Therefore, after you have finished editing, sharpening and enlarging your image in Photoshop and have prepared your final print-ready file, check that the photo lab you are using for the enlargement is using a color-corrected workflow and is capable of managing the color of their prints.
Throughout this process, keep in mind the ultimate desired size of the print and where it will hang. Leave plenty of negative space around the print, especially when planning a full-bleed presentation such as an acrylic face-mount. Choose a well-lit location in your home or office, and if one isn’t readily available, plan to add an overhead “gooseneck” battery-powered light above the print to add light and bring out the beauty of the piece.
If displaying your large print in a sunny spot, be prepared for reflections from high-shine presentation formats, such as high-gloss-finish metal prints. These will be akin to the types and levels of reflections experienced on traditional glass-framed matted darkroom prints. If the location for your large-format print has direct sun, consider a low-reflectance finishing option, such as Gicleé canvas, a satin-finish metal print or non-glare acrylic. It may also be worth considering UV-proof glass.
Memories Preserved
When done correctly, large-format prints are truly breathtaking, and can invoke an awe in viewers second only to the experience of capturing the incredible scenes depicted in them. Massive prints can be larger than life, and are a truly wonderful way to preserve your Tahoe memories forever.
And if you are unwilling to navigate the waters of digital file enlargement and wall-sized printmaking, consider reaching out to a local photography expert at one of the numerous studios or art galleries in the Lake Tahoe area for help. They will more than likely be happy to lend a hand.
Grant Kaye is a professional photographer and educator who has lived in the Tahoe area since 2000. Kaye offers consultation, file preparation and large-print ordering, www.grantkaye.com. For advice related to this article, he may be contacted at grant@grantkaye.com.


No Comments